Are you ready to transform your RV’s interior into a personalized, vibrant space? Painting the walls of your recreational vehicle is the perfect way to achieve a fresh and inviting look. In this article, we will take you through the step-by-step process of painting RV walls, allowing you to create a beautiful and unique living environment that truly feels like home.
Table of Contents
Benefits of Painting RV Walls
Picture this: stepping into your RV and being greeted by walls that reflect your unique style and taste. By painting the walls, you can create a personalized, welcoming space that truly feels like yours. Additionally, a fresh coat of paint can breathe new life into your RV, making it appear more spacious and bright. Say goodbye to imperfections, as painting also helps to cover up any flaws on the walls, leaving you with a flawless and stunning interior.
Tools and Materials Needed
Before you embark on your painting journey, gather the following tools and materials:
- Drop cloths or plastic sheets
- Painter’s tape
- Sandpaper (medium and fine-grit)
- Cleaning solution or mild detergent
- Sponge or soft cloth
- Putty knife
- Spackling compound
- Caulk
- Primer
- Paint
- Paint roller and tray
- Paintbrushes
- Extension pole for high walls or ceilings
- Rags or paper towels
Preparing the RV Walls
Cleaning the Walls
Let’s start by giving those walls a thorough cleaning. Mix a cleaning solution or mild detergent with water, and using a sponge or soft cloth, gently scrub away any dirt, dust, or grease. Pay special attention to areas around windows, doors, and corners. Rinse the walls with clean water and allow them to dry completely.
Removing Old Wallpaper or Paint
If your RV walls have old wallpaper or peeling paint, it’s time to bid them farewell. Begin by peeling off as much wallpaper as possible. For stubborn bits, use a putty knife to scrape them away. In the case of paint removal, lightly sand the walls to create a smooth surface for the new paint.
Repairing Any Wall Imperfections
Now it’s time to tackle any imperfections on the walls. Inspect the surfaces for holes, cracks, or dents. Fill these areas with spackling compound using a putty knife. Once the compound dries, sand the repaired areas until they are smooth and level with the rest of the wall.
Sanding the Walls for a Smooth Finish
To ensure a flawless paint application, grab your sandpaper. Lightly sand the entire wall surface using medium-grit sandpaper. This step helps remove any roughness or texture, providing a better surface for the paint to adhere to. After sanding, wipe down the walls with a clean cloth to remove any dust.
Masking and Protecting
Covering Windows, Trim, and Fixtures
Let’s protect those important areas from accidental paint splatters. Cover windows, trim, and fixtures with drop cloths or plastic sheets, ensuring they are completely shielded.
Applying Painter’s Tape to Protect Edges
For clean and precise lines, apply painter’s tape along the edges of windows, trim, and any areas you want to keep paint-free. Be meticulous in applying the tape, ensuring it adheres firmly and creates sharp lines.
Laying Drop Cloths to Protect Flooring
Lay down drop cloths or plastic sheets to prevent any paint drips or spills from ruining your flooring. Secure the edges of the drop cloths to keep them in place during the painting process.
Priming the Walls
Importance of Priming in RV Painting
Priming plays a vital role in painting RV walls. It enhances paint adhesion, creates a consistent base color, and boosts overall durability. Plus, it helps cover up any existing stains or discolorations on the walls, giving you a clean canvas.
Selecting the Appropriate Primer
When choosing a primer for your RV walls, choose one specifically designed for this purpose. Consider the type of paint you’ll be using and the material of your RV walls, whether it’s wood, metal, or fiberglass. If you’re unsure, don’t hesitate to consult a paint specialist who can guide you in selecting the right primer for your RV.
Applying Primer to the RV Walls
Grab a paint roller or brush and apply a smooth and even coat of primer to your prepared walls. Start from the top and work your way down, ensuring complete coverage. Let the primer dry according to the manufacturer’s instructions before moving on to the exciting next step.
Painting the RV Walls
Choosing the Right Paint Color and Finish
Now it’s time for the fun part—selecting the paint color and finish that will bring your RV walls to life. Think about the atmosphere and vibe you want to create. Light colors make your space feel more spacious, while bold hues make a striking statement. Also, consider the paint finish that matches your preferences, such as matte, satin, or semi-gloss.
Applying the First Coat of Paint
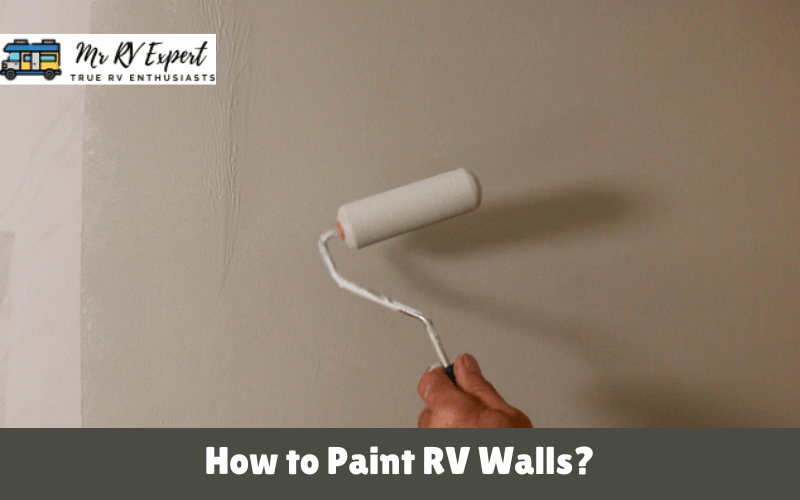
Get your paintbrush ready and start by cutting in the edges of the walls. Take your time to ensure clean lines along the trim and corners. Then, grab your paint roller and apply the first coat of paint to the larger wall areas. Work in small sections, moving from top to bottom, and maintain a wet edge to avoid visible brush or roller marks.
Applying Subsequent Coats if Necessary
Allow the first coat of paint to dry completely before deciding if additional coats are necessary. Take a closer look and check for areas where the previous color or imperfections are still visible. If needed, apply a second or even third coat of paint using the same technique. This ensures a vibrant and flawless finish.
Techniques for Achieving a Smooth Finish
Use long and even strokes when applying the paint to achieve that smooth and professional finish. Avoid applying too much pressure on the roller or brush, as it can create unwanted texture or streaks. Blend each stroke smoothly into the previous one to minimize visible lines or overlap marks, resulting in a seamless look.
Drying and Curing
Allowing Paint to Dry Properly
After applying the final coat of paint, give your walls ample time to dry completely. Follow the drying time guidelines provided by the paint manufacturer. Be patient and avoid touching or placing objects against the walls until they are fully dry to prevent any smudges or accidental damage.
Proper Ventilation and Air Circulation
During drying, ensure good ventilation and proper air circulation in your RV. Open windows or use fans to help the paint dry faster and minimize any lingering paint fumes. Fresh air can make the drying process more enjoyable for you as well.
Curing Time for the Painted Walls
Although the paint may feel dry to the touch, it takes time to cure and harden fully. Be mindful of this curing period, which can range from a few days to a few weeks, depending on the type of paint and environmental conditions. Handle the walls carefully during this time, and avoid scrubbing or cleaning until completely cured.
Finishing Touches
Removing Painter’s Tape and Drop Cloths
Once the paint is dry and fully cured, it’s time to remove the painter’s tape from the edges. Remove it carefully at a 45-degree angle to ensure clean lines. As you do so, be cautious not to spread any paint residue. Finally, remove the drop cloths or plastic sheets from the floor, leaving your space clean and shiny.
Cleaning Up the Workspace
Take a moment to tidy up your workspace by properly disposing of used paint cans, brushes, and other materials. Wipe down any surfaces or tools that come into contact with paint, ensuring everything is neat and organized.
Reinstalling Fixtures and Trim
Ensure everything is securely fastened and properly aligned, putting the finishing touches on your revamped RV interior.
Maintenance and Care Tips
Tips for Maintaining Painted RV Walls
- Regularly dust the walls to remove dirt and debris.
- Avoid using abrasive cleaners or harsh chemicals that could damage the paint.
- Wipe up spills or stains promptly using a soft, damp cloth.
- Use mild soap and water for gentle cleaning when necessary.
- To prevent potential damage, avoid hanging heavy objects directly on the walls.
Cleaning and Touch-up Recommendations
For any cleaning or touch-up needs, keeping some extra paint in a tightly sealed container for future use is a good idea. If you notice any areas that have chipped or scuffed over time, use a small detail brush to touch up those spots carefully. This way, your RV walls will continue to look fresh and vibrant.
Conclusion
Painting your RV walls is an exciting project that can transform your living space on the road. By following the steps outlined in this guide, you’ll achieve a professional-looking paint job and create a personalized and refreshed RV interior.


