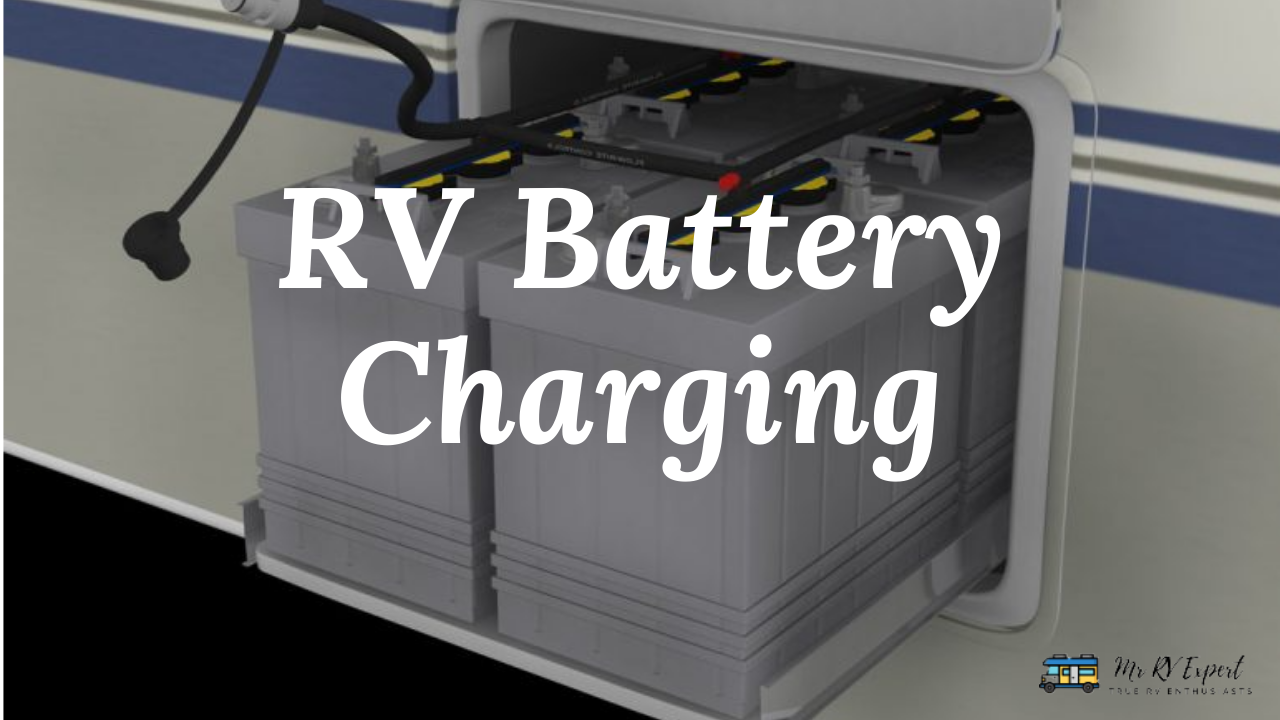
So, you just bought your first Toy Hauler, Fifth Wheel, or Travel Trailer (TRV) and you are ready to hit the road. Of course, your TRV has an existing battery system ( RV Battery Charging) to run various electrical components while traveling. But if it has been sitting for more than 1-month chances are at least one of the RV Battery Charging will be deader than fried chicken!
This is not a problem as most modern RV’s come equipped with either two or three 12volt deep-cycle wet cell marine/RV batteries. That should start your engine and provide enough energy storage to power all appliances for days on end. On the downside, these deep-cycle lead-acid batteries require regular maintenance in order to ensure their proper operation and warranty compliance (if applicable).
Table of Contents
Charging battery basics
First of all, it is important to understand that batteries are energy storage devices. As such they do not like over-voltages (excessive-high charging voltages) or under-voltages (5V +/- 1V). A proper battery charging system ensures that the applied charging voltage is maintained within an optimal window so as to provide the best long-term performance and warranty time for your expensive TRV batteries. So, you need to learn the right method of how to charge the RV battery.
1) RV Battery Charger Types
The most common type of RV battery charger simply incorporates a transformer connected between the AC line voltage and the battery bank. This type of charger uses a simple timed relay that opens at some predefined time interval. Allowing the current to flow from the AC line, through the relay contacts into the batteries, then closes after a specified time.
This type of charger is inexpensive to build but has several disadvantages including the fact that its relay contacts are in series with the batteries. where they can cause havoc if open-circuited for an extended period of time (it would be like leaving your headlights on all night).
Voltage Regulation
They also do not provide any voltage regulation, so they may overcharge or undercharge the batteries depending on input line voltage conditions causing the batteries to become damaged or go dead.
If your RV’s battery charging system uses this type of “trickle” style charger you should seriously consider replacing it with a modern smart multiple-stage microprocessor-controlled charge controller.
2) Microprocessor-Based Charger
Thus most modern TRV chargers are microprocessor-based with electronic switching relays that are used to switch the charging “brains” between the AC line and battery terminals, leaving the battery contacts electrically isolated from any adverse effects caused by relay contact arcing, etc.
Microprocessor-based charge controllers come in two general varieties, single-stage and multistage.
Single-stage chargers apply a constant voltage to the batteries for an extended period of time (up to 48 hours). Until the preset end of charge, voltage is reached where they switch into float mode (usually 13.2V +/- 1%).
Most modern RVs use this type of charger as it is inexpensive and simple to implement while providing a full current output when needed (ignition on). Some older TRV manufacturers used only this type of charger which is why you see so many burned-out batteries on the road today.
3) DC Batteries
Most RV’s have 2 or 3 12V DC batteries for starting, house lighting, etc. However more and more modern RVs are coming standard with dual battery banks. one 12V battery dedicated to engine cranking (starting) and another 12V for house loads. If you have a dual bank system make sure that both batteries are of the same type/age.
Otherwise if one is stronger than the other it will be continuously discharged by appliances drawing power from the weaker battery. Some TRV manufacturers incorporate an adjustable voltage regulator on each battery circuit allowing them to balance voltage between batteries at all times ensuring even current draw during engine start-up as well as providing a longer service life
4) Multistage Smart Charger
A multistage smart charger will first apply a bulk charge to the battery (usually up to 80% of capacity) at its maximum safe current. When that phase is completed, it will switch into an Absorption Stage. The absorption stage gradually tapers the charging rate down until the battery reaches about 97%.
At this point, it goes into equalization mode by applying approximately 14.4 – 15V for 30-60 minutes before switching back into the absorption stage again. This process can be repeated several times during any given charging session depending on batteries state of charge and condition.
Charging system monitoring
Most modern smart chargers will monitor batteries voltage and temperature while undercharging. These parameters are important to batteries’ health and longevity so it is not uncommon for them to have alarms set to sound alerts if voltage or temperature gets out of preset ranges.
While monitoring is usually done throughout the charging process, most chargers will go into “Maintenance” mode after the termination of charge where they will maintain batteries at their peak state of charge indefinitely unless preset battery voltage drops below a preprogrammed minimum level which resets charger back into normal operational mode.
Additional Charging
Some TRVs offer additional charging modes that allow you to safely recharge RV house loads directly from the vehicle alternator at engine idle. This process, called “housekeeping”, keeps battery capacity available for starting your engine if needed while also keeping loads operating during generator hours or shore power sessions.
During housekeeping mode, some manufacturers will monitor volts on each battery bank independently allowing them to switch the house load between batteries as needed based on their charge state. Others will simply balance loads across both batteries at all times giving equal run times regardless of which is being discharged or charged.
Assessing the condition of your RV’s charging system
A thorough assessment of your RV’s charging system should be part of every pre-purchase inspection. While most RVs are never pushed to extremes, there are exceptions and key components that must be operating correctly to ensure safe continuous operation. Here is a brief checklist you can use when inspecting an RV for purchase:
1) Is the generator operational?
The RV portable generator needs to be in good operating condition to give you the power you need when surge demands are placed on your RV’s charging system. Tests should include multi-function voltage test, RPM, amperage draw at idle, and battery state of charge reading.
2) Battery charger
Amperage output should be checked while plugged into shore power (110V/220V) or vehicle alternator. If smart chargers are present they will list maximum output amps on the front panel. The house-side terminals should also indicate the correct voltage for your area. even if there is no load drawing current from the batteries at that time. No house loads connected? Expect low or no voltage readings across batteries because most chargers have a very low amp threshold before shutting off.
3) Battery water levels
Both batteries should have a clean, even cover on top if they are wet cell lead-acid types. Sealed AGM & Gel type batteries do not require checking unless there has been a noticeable loss of fluid or excessive heat while charging due to load imbalances or high ambient temperatures. A good storage battery will maintain appropriate fluid levels through normal use. However, after periods of non-use, you can expect these levels to drop below optimal ranges requiring refilling with distilled water at the very least.
If your batteries are labeled “maintenance free” then they are sealed units and no further testing or maintenance is required other than checking for obvious signs of physical damage prior to purchase. Most smart battery chargers come with an auto-fill feature allowing you to set the battery level at which the charger will activate.
4) Exterior corrosion
Corrosion on exposed metal surfaces is common especially if your RV saw much road time before being retired. or was exposed to harsh elements like coastal regions or salt air. Look for cracks or loose hardware that may require re-torquing & resealing of components. Check all wires, cables, connectors. Terminals for damage as well as rubber hoses & conduit inside the engine compartment where water can hide causing future problems with electrical connections.
Some old RVs may have unregulated alternators which overcharge batteries while the engine is running. Essentially boiling off electrolytes through high heat buildup during high voltage peaks. This cycle causes plates within each cell to warp slightly shortening battery life over time. Replacing obsolete components can be very difficult if not impossible in some cases, so purchase wisely when it comes to vintage RVs.
5) Running or charging system test
We won’t go into detail on how to perform these tests but suffice to say you will need a multimeter capable of testing voltage & resistance on your vehicle’s electrical system. If possible, have friends record results while you operate various systems like propane heaters, A/C, lights, water pumps, etc.
Just remember that amperage draw might spike drastically during high power demands. Therefore amperage must be tested while plugged into shore power at the same time to get real-world data for your reading. Even though the generator may start up fine and idle properly under no-load conditions you cannot assume proper operating condition unless it has been cycled under a load.
Conclusion: RV Battery Charging
Before going out to look at prospective RVs for purchase, you should have a basic understanding of how your RV’s charging system works. you can also learn some terminology associated with both systems. Batteries are rated in volts (12V) and amperage output in CCA (cold cranking amps) when under a heavy load or when starting an engine.
A battery charger can be analog or digital providing either alternating current from shore power. Through wall plug or direct current from vehicle alternator dependent on the type of batteries being charged.
[kkstarratings]