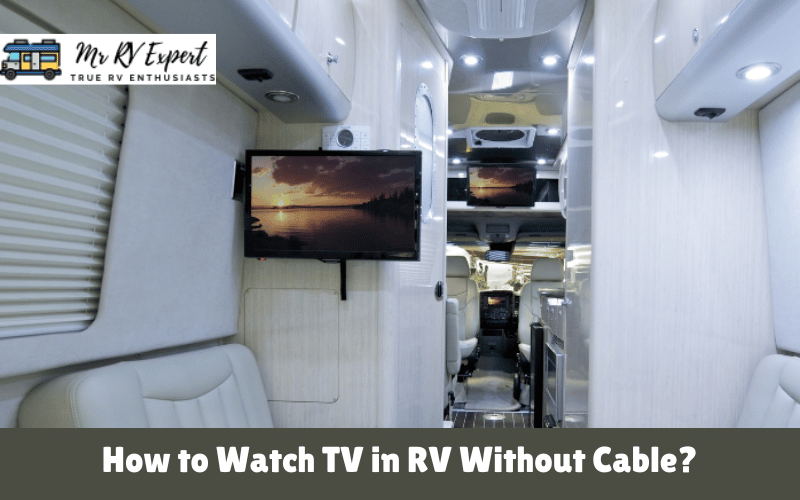
Embarking on an RV adventure is an exhilarating experience, and having a TV in your mobile home can enhance your journey by bringing entertainment and relaxation on the road. Attaching a TV mount to your RV wall allows you to enjoy your favorite shows, movies, or games wherever you go. In this comprehensive guide, we will walk you through the process of securely attaching a TV mount to an RV wall, ensuring both functionality and safety.
Table of Contents
How To Attach A TV Mount To An RV Wall?
Planning and Preparation
Before you begin, it’s crucial to gather the necessary tools and materials for the installation. Here are the essential items you will need:
TV mount: Choose a sturdy and durable TV mount suitable for your RV size and TV dimensions. Look for mounts specifically designed for RVs, as they are designed to withstand the vibrations and movements associated with traveling.
Stud finder: Invest in a reliable stud finder to locate the wall studs in your RV. This will ensure that the TV mount is firmly attached to a solid structure for maximum stability.
Measuring tape and level: Accurate measurements and leveling are vital for a proper installation. Ensure you have a measuring tape and a level to achieve a precise and balanced setup.
Drill and appropriate drill bits: Depending on your RV wall material, you may need a drill and the appropriate drill bits to make pilot holes for the TV mount screws.
Screwdriver or power drill: A screwdriver or power drill will be needed to secure the TV mount to the wall.
Finding the Ideal Mounting Location
Choosing the right location for your TV mount is essential for optimal viewing angles and safety. Consider the following factors when determining the mounting spot:
Structural integrity: Identify a sturdy area of the RV wall that can support the weight of the TV and the mount. This is typically where the wall studs are located.
Viewing angles: Ensure the TV mount is positioned at a height and angle that provides comfortable viewing for everyone in the RV. Take into account seating arrangements and potential obstructions.
Accessibility: Select a location that allows easy access to the necessary ports and connections on the back of the TV.
Attaching the TV Mount
Now that you have selected the ideal mounting location, it’s time to attach the TV mount to the RV wall. Follow these steps for a secure installation:
Use the stud finder: Locate the wall studs in the chosen area using a stud finder. This step is crucial for ensuring a strong and stable attachment.
Mark the stud locations: Once you have identified the studs, mark their positions on the wall using a pencil. This will guide you during the installation process.
Drill pilot holes: Using the appropriate drill bit, create pilot holes on the marked locations. Make sure the pilot holes are slightly smaller than the screws provided with the TV mount.
Attach the TV mount: Align the TV mount with the pilot holes and secure it to the wall using screws and a screwdriver or power drill. Ensure the mount is level and tightly attached.
Test the stability: Give the TV mount a gentle tug to confirm its stability. If it feels loose, reinforce the attachment by using longer screws or adding additional support.
Mounting the TV
Read the TV manual: Before proceeding, refer to the TV manual to understand the specific instructions for mounting the TV. Different models may have varying requirements.
Locate the mounting holes: On the back of the TV, locate the mounting holes that correspond to the VESA (Video Electronics Standards Association) standard. The VESA pattern determines the compatibility between the TV and the mount.
Attach the mounting brackets: Using the screws provided with the TV mount, attach the appropriate mounting brackets to the back of the TV. Ensure they are securely fastened.
Lift and hook the TV: Carefully lift the TV and align the mounting brackets with the TV mount. Gently hook the TV onto the mount, ensuring a secure fit.
Double-check stability: Confirm that the TV is properly secured to the mount by giving it a slight shake. If necessary, make any adjustments or tighten the brackets to achieve stability.
Connect the cables: Connect the necessary cables, such as HDMI or coaxial, to the back of the TV. Ensure they are securely plugged in and neatly organized to avoid tangling.
Cable Management and Final Touches
To achieve a clean and organized look, follow these steps for effective cable management and final touches:
Use cable clips or ties: Securely fasten the cables along the wall or TV mount using cable clips or ties. This will prevent them from dangling and getting tangled.
Conceal cables behind covers: Consider using cable management solutions like wall-mounted cable covers or adhesive cord covers to hide the cables and create a neat appearance.
Adjust TV angle: Tilt or swivel the TV as needed to achieve the desired viewing angle. Ensure that it is comfortable for all viewers and doesn’t strain the neck.
Test functionality: Connect the TV to a power source and any additional devices, such as a cable box or gaming console. Test the functionality of the TV and ensure all connections are working correctly.
Frequently Asked Questions
Q1: Can I mount a TV on any RV wall?
A1: It is recommended to mount the TV on a solid wall with adequate structural support, such as walls with wooden or metal studs. Thin or flimsy walls may not provide sufficient stability.
Q2: How do I find the studs in my RV wall?
A2: Use a stud finder specifically designed for RVs to locate the wall studs. These devices are equipped to detect studs through different types of RV wall materials.
Q3: What is the VESA standard, and why is it important?
A3: The VESA standard specifies the placement of mounting holes on the back of a TV. Matching the VESA pattern on the TV with the mount ensures compatibility and a secure attachment.
Q4: Can I remove the TV mount and reinstall it elsewhere in the RV?
A4: Yes, in most cases, you can remove the TV mount and reinstall it in a different location. However, make sure to follow the manufacturer’s instructions and use caution to avoid damaging the wall or the mount.
Conclusion
Attaching a TV mount to an RV wall opens up a world of entertainment possibilities while you travel. By carefully planning, selecting the right location, and following the step-by-step instructions provided in this guide, you can achieve a secure and visually pleasing TV installation in your RV. Always prioritize safety and stability, ensuring that both the TV mount and TV are securely attached. Now, sit back, relax, and enjoy your favorite shows and movies on the road!
[kkstarratings]


