There are many reasons that people choose to travel in recreational vehicles (RVs) and the primary reason is that it is an inexpensive way to enjoy a vacation or a weekend getaway. However, if you have ever been to a campground or a lake, you know that it can be difficult to keep your RV clean. This is because when you leave your RV for a few days, you will inevitably accumulate dirt and grime on the exterior of your vehicle. One of the most common problems that RV owners face is the accumulation of oxidation on their RV decals.
Table of Contents
What is Oxidation?
Oxidation is the chemical process that changes the color of metals. Oxidation occurs as a side effect of corrosion, which is the result of the metal being exposed to air for too long. For many sectors, corrosion is a big issue, including food and beverage, oil and gas, and the paper industry. It leads to the need to repair and replace equipment. If oxidation were easy to avoid, there would be no need for corrosion control products.
The process of oxidation is caused by a chemical reaction between oxygen and organic materials. Once the oxidation process starts, it will continue to grow until it is finally removed. Unfortunately, most people don’t realize that the oxidation process can be removed and they simply let it go.
If you are one of the many RV owners who are experiencing this problem, then you need to know the right method of how to remove oxidation from rv decals so that you can enjoy your vacation or weekend getaway in your RV without having to worry about the appearance of your RV.
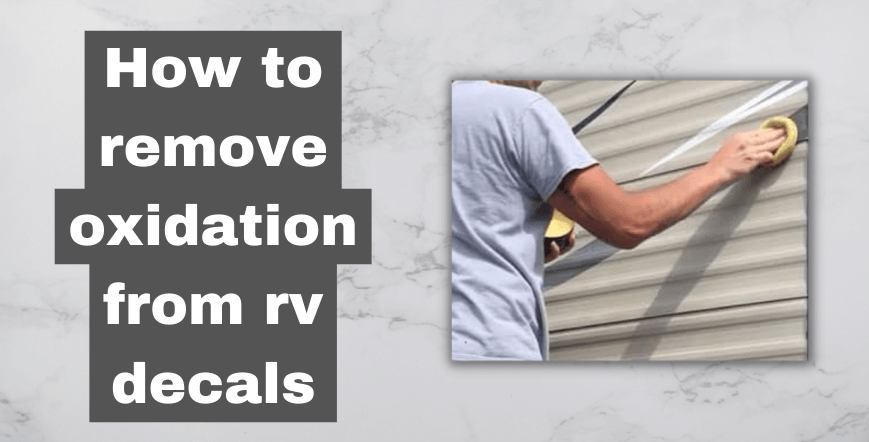
How to Remove Oxidation from RV Decals
Vinegar and Salt Solution
Vinegar is a very inexpensive and safe way to remove rust and oxidation from your RV decals. Simply combine equal parts vinegar and water and mix well. This will dissolve the oxidation, and the rust will fall off. Next, mix 1 teaspoon of salt into the mixture and mix again. Let the mixture sit overnight, and rinse the decal when you are ready to put it back on your RV.
Bleach
Bleach is another easy way to remove oxidation from RV decals. Combine equal parts vinegar and water, and add a cup of bleach. Make sure to add the bleach slowly and stir it around in the solution until all of the bleach has dissolved. Let the solution sit overnight and rinse your decal when you are ready to put it back on your RV.
Soda
If you want to use soda to remove oxidation from RV decals, you’ll need to use a cleaner that contains citric acid. The citric acid will neutralize the soda and will help remove the oxidation from your decals. To do this, combine equal parts vinegar and water, and add a cup of soda. Make sure to add the soda slowly and stir it around in the solution until all of the soda has dissolved. Let the solution sit overnight and rinse your decal when you are ready to put it back on your RV.
How to remove oxidation from rv decals: Paint method
The first step to restoring an oxidized vinyl decal is to remove the oxidized layer. A great way of this is by using a rotary tool, such as a power drill or rotary cutter. You should remove the oxidized layer from both sides of the decal. If you don’t, you’ll lose the color contrast between the two sides.
The next step is to apply a clear coat, which will protect the surface and restore the colors. But before you use a clear coat, you must prepare the surface. Clearcoat requires some preparation, and it’s usually recommended that you sand the surface before applying it. Sanding is necessary to reduce the surface roughness so that the clear coat adheres well. After you sand the surface, you should apply two to three coats of clear coat. This is because it takes two to three coats of clear coat to achieve a good finish.
After applying the clear coat, you should wait about 15 minutes before you buff the surface. This gives the clear coat time to cure. If you don’t do this, the clear coat won’t stay in place very long. Also, don’t try to do too much at once. Doing too much at once can damage the surface.
If you’re having trouble removing the oxidization and preparing the surface, you might want to consider using a water-based paint stripper. Water-based paint strippers are available from most hardware stores and home improvement centers. They contain hydrochloric acid, so you should wear safety equipment when using them. If you don’t want to use a water-based paint stripper, you can also try to use commercial solvents.
The next step is to apply a primer, which will create a more uniform surface. The type of primer you use depends on what type of finish you want to achieve. If you want to achieve a matte finish, you can use a matte basecoat. On the other hand, if you want to achieve a high gloss finish, you can use a high gloss basecoat. You should be aware of the differences between these types of finishes. For example, a matte finish is harder to scratch, but it doesn’t provide as much protection against UV rays.
Finally, you should apply one or two coats of a topcoat to the finished decal. Again, you should wait about 15 minutes before you apply the topcoat. This will give the topcoat time to dry and cure. If you apply a topcoat immediately after you finish applying the basecoat, the topcoat won’t stay in place very well.
Conclusion:
There are a variety of ways that you can remove oxidation from rv decals. Here we mentioned a few methods to remove oxidation from rv decals: follow a few steps mentioned above and enjoy the rv decals like a new one.