If your RV awning fabric is on its last legs, it’s high time you consider replacing it. Though the idea of replacing the fabric may seem daunting, it can be a relatively simple DIY project with just a few basic tools and the help of a friend. Replacing the fabric yourself can save time and money that would otherwise be spent on professional repair or a complete awning replacement. So, don’t chicken out now. Let’s hit the ground running and get this show on the road!
Table of Contents
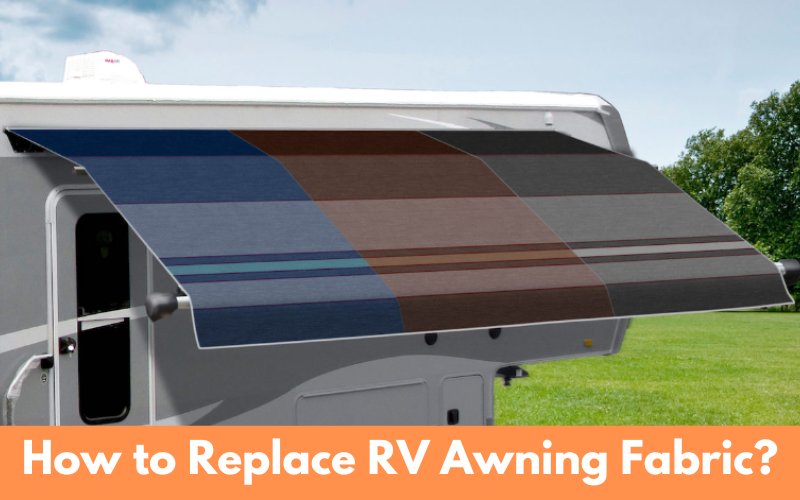
How to Replace RV Awning Fabric?
Following are the steps on how to replace your RV awning fabric.
Pull Out the Awning
The first step is to pull out your existing awning. Flip the awning latch into the “out” position and pull out the awning. Next, drag out the stabilizing arms and lock them into place.
Lock Springs in Place
The manual awning is equipped with a spring tightly wound inside the tube. This spring is responsible for retracting the awning and keeping it in place while driving. To lock the spring on an awning, the awning lever on the front end must be in the “roll down” position. Once in this position, a pin or nail should be inserted into the other end cap of the awning tube. While disconnecting the front shaft of the awning tube from the awning arm, it is necessary to use a vice grip on the front shaft.
Remove the Awning Tube from the Awning Arms
Now, remove the bolt from the arm while holding onto the front shaft with a vice grip. It is important not to accidentally bump the lever out of the “roll down” position, which keeps the spring secure. After disconnecting the awning tube from the front of the RV, you should prop it up on a stable surface before repeating the process for the rear of the awning.
Unwinding the Spring
After disconnecting the awning tube from the arms, the next step is manually unwinding the tightly-wound spring. As you do this, keeping track of the number of revolutions you make is important since you will need to wind the new awning fabric the same amount of times. It is recommended to have two people for this step, as one person will need to hold a screwdriver in the cap of the roller tube to prevent it from rotating while the other person unwinds the spring using vice grips. When you flip the lever into the “roll up” position, then firmly grip the vice grips to prevent the spring from rapidly unwinding.
Remove the Awning End Cap
After removing the end cap from the roller tube and marking it with a sharpie, it’s time to pull out the awning spring. It will allow you to slide the awning roller off of the old awning fabric. Handle the spring carefully, as it can be dangerous if it unravels quickly. Once the spring is out, you can easily remove the roller from the old fabric.
Remove the Awning Roller from the Awning Fabric
Once you remove the end cap, you can slide the awning roller off the old awning fabric.
Remove Awning Arms from RV
Now it’s time to remove the top bracket from the awning arm. It requires unscrewing a couple of bolts and pulling the arm straight off.
Removing Old Awning Fabric
It may require removing the rain gutter if one is present. You need to start by removing the awning arms and then taking out the old fabric. The fabric is usually secured by screws on each end, which can be unscrewed to release the fabric. Once the screws are removed, the old fabric should easily slide out.
Clean the Awning Area
After removing the old awning fabric, cleaning the area around the awning track is essential to ensure a clean and smooth installation. It is the perfect opportunity to scrub out any dirt and grime accumulated over time. Covering any sharp edges with tape will prevent damage to your new awning fabric during installation. It is also recommended to clean the awning roller tube to remove accumulated grime and dirt.
Putting it Back Together
Install the New Awning Fabric The first step in installing your new awning fabric is to slide it into the track on the top of your RV. Take your time when doing this to avoid any wrinkles or kinks in the fabric.
Re-Install the Awning Arms
Once the new awning fabric is in place, re-install the arms and rain spout. Ensure the awning arms are securely fastened to the RV to avoid accidents. Sealing the bolt holes for the awning bracket with RV caulk is important to prevent leaks.
Re-Install the Roller Tube
The final step in installing your new awning is to slide the fabric into the awning roller tube. The awning fabric comes with plastic guides for the fabric and valance. You may need to cut these plastic pieces to ensure the awning is centered on the roller tube. However, leaving enough of the guide to secure the awning fabric and prevent it from being loose on the tube is important. During this step, take your time to ensure the awning is installed correctly and securely.
Wind up the Awning Spring
After you have successfully installed the new awning fabric onto the roller tube, the next step is to wind up the awning spring. Start by putting the awning lever back into the “roll-down” position to begin winding the spring back up. It’s important to wind the spring as often as it was unwound during removal.
Attach Roller to Arms
Once you have wound up the awning spring, it’s time to re-attach the awning arms to the roller tube. It’s important to be careful while re-attaching the awning to the arms to avoid unwinding the tightly wound spring. Ensure that the awning arms are firmly attached to the roller tube before proceeding to the next step.
Test Out Your New Awning and secure it in place.
Now that the new awning is installed, test it and ensure it works correctly. Begin by removing the pin from the end of the RV awning holding the rear spring in place. Once that is removed, roll out the awning and see if it works smoothly and properly.
If the new awning rolls up correctly, the final step is inserting the set pins on the top of the awning to keep the fabric in place. It will ensure the awning fabric does not shift or move during use.
Finally, it’s time to add some personality to your RV awning by hanging cute string lights. So, relax under your new awning while enjoying the beautiful string lights! It will create a cozy and inviting atmosphere for your outdoor living space.
Conclusion:
Replacing the awning fabric of an RV can be daunting, but it can be easily accomplished by following a few simple steps. First, measure the old awning fabric and order the new fabric accordingly. Second, remove the old fabric and clean the awning track and roller tube. Third, install the new awning fabric, re-install the awning arms, and re-attach the roller tube. Finally, test the new awning and secure it in place. As the saying goes, “where there’s a will, there’s a way,” With a little patience and determination, you can successfully replace your RV awning fabric and enjoy your travels with a fresh and functional awning.