Are you wondering how to winterize your RV? It’s a common question among RV enthusiasts and for good reason. Winterizing your RV can protect your equipment from extreme weather conditions. While it may not be necessary for those living in warmer climates, it’s essential for those traveling in colder regions.
If you’re eager to explore the great outdoors in your RV, it’s important to take the time to winterize it properly. Neglecting this crucial step can lead to unpleasant surprises when spring arrives. Luckily, winterizing your RV is a straightforward process, and a few simple tips can help you get started.
Table of Contents
How to Winterize an RV?
Tools Needed Before You Begin
You’ll need a few tools and supplies to properly winterize your RV. These include:
- A water heater bypass kit
- An RV antifreeze solution
- A set of wrenches
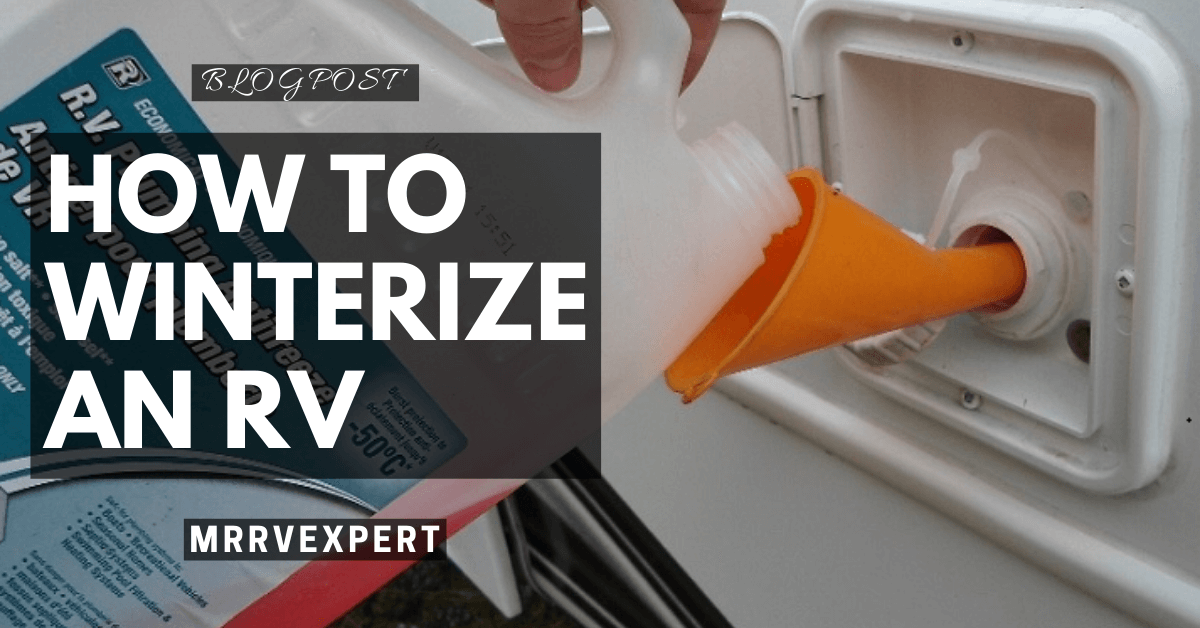
- A funnel
1. Remove water filters:
If your RV is equipped with a water filter, it’s important to remove it before winterizing. Water filters can freeze and crack, which can cause damage to your RV’s plumbing system.
2. Drain and flush the black and gray water tanks:
The first step in winterizing your RV is to drain and flush the black and gray water tanks. Open all the faucets in your RV and let the water run until it’s clear. Once the water is clear, close the valves and add a gallon of RV antifreeze to each tank.
3. Drain and flush the water heater:
Next, drain and flush the water heater. Turn on the water heater and let it run until it’s empty. Once it’s empty, turn off the gas valve and open all the faucets in your RV to allow the antifreeze to reach them.
4. Drain the fresh tank and low point drains:
Drain the fresh tank and low point drains by opening all the faucets in your RV and letting the water run until it’s clear. Once the water is clear, close the valves and add a gallon of RV antifreeze to the fresh tank.
5. Open external faucets and valves on the outside of the RV:
Once the fresh tank is full of antifreeze, open all the external faucets and valves on the outside of the RV. This will allow the antifreeze to reach all the plumbing fixtures in your RV. Keep these valves open until spring
6. Open internal faucets, showers, and toilets
To ensure the antifreeze reaches all fixtures, open all the internal faucets, showers, and toilets in your RV after opening the external valves. Leave these valves open until spring.
7. Close faucets and replace drain plugs
Once all water has drained from your RV’s plumbing system, close all faucets and replace drain plugs.
8. Bypass the hot water heater
Follow the bypass kit instructions to bypass the hot water heater for winterization.
9. Connect the system to RV antifreeze
Use a non-toxic, safe RV antifreeze solution designed for this purpose. Connect the system to a water hose and run antifreeze through all fixtures in the RV. Close all valves and disconnect the hose after filling all fixtures with antifreeze.
10. Pour Antifreeze Down P-Traps
To prepare your RV for winter storage, it’s important to pour antifreeze down all the P-traps to prevent any remaining water from freezing and causing damage. To do this, start by removing the cap from each P-trap and pouring a cup of RV antifreeze into them. Remember to repeat this process for all the sinks, showers, and toilets in your RV to ensure full coverage.
11. Turn the water faucet closest to the water pump on.
To prevent the water pump from freezing, ensure that all valves are closed and P-traps are filled with antifreeze. Then, turn on the water faucet closest to the pump to allow the antifreeze to flow through and reach the pump.
12. Run the RV’s furnace for a few minutes
To effectively winterize your RV, it is important to run the furnace for a few minutes. This action will ensure that the antifreeze is circulated throughout the plumbing system, which will effectively prevent any pipes from freezing.
14. Flush the toilet until you see antifreeze.
To ensure the antifreeze reaches all the fixtures in your RV after turning on the furnace, flush the toilet until you see the antifreeze.
15. Store your RV for the winter
To ensure your RV is properly stored for the winter, it’s important to take all the necessary steps. Once you’ve completed these steps, it’s crucial to find a secure and dry location to store your RV so that it remains protected from harsh weather conditions. By doing so, you’ll be able to enjoy your RV throughout the winter season without any worries.
16. Prep the RV for final storage.
To prepare the RV for final storage after winterizing, the first step is to remove all food from the vehicle and thoroughly clean out the refrigerator and cupboards. After that, it’s recommended to empty all cabinets and drawers and remove any personal items from the RV. Lastly, it’s important to vacuum the floors and clean all surfaces throughout the RV.
17. Cover the RV’s exterior.
To safeguard your RV’s exterior from harsh weather conditions, it’s important to utilize a waterproof cover such as a tarp. However, it’s crucial to ensure that the cover is firmly fastened to prevent it from being blown away during windy weather.
18. Store the RV’s batteries.
If you plan to store your RV for an extended period, it’s important to remove the batteries and store them in a cool and dry location. Leaving batteries in the RV during storage could lead to acid leaks and cause damage.
19. Disconnect the RV from utilities.
For optimal storage of your RV at home, it is advisable to disconnect it from utilities like water, electricity, and sewer to avoid any potential damage during storage.
20. Check on the RV regularly.
While you may have already winterized and stored your RV, it’s still a good idea to periodically check on it. Look for any evidence of leaks, pests, or damage that may have occurred while it was in storage. Thank you for reading! You now have the knowledge to winterize and store your RV for the winter properly.
Conclusion:
By following these simple steps, you can winterize your RV and store it safely for the winter. Thanks for reading!
![How To Winterize An RV? [Solution]](https://mrrvexpert.com/wp-content/uploads/thumbs_dir/how-to-prepare-for-full-time-rv-living-1-qdit510yxcaj7iphsnob5jrh0bsw9j9252q6ue4j7g.png)