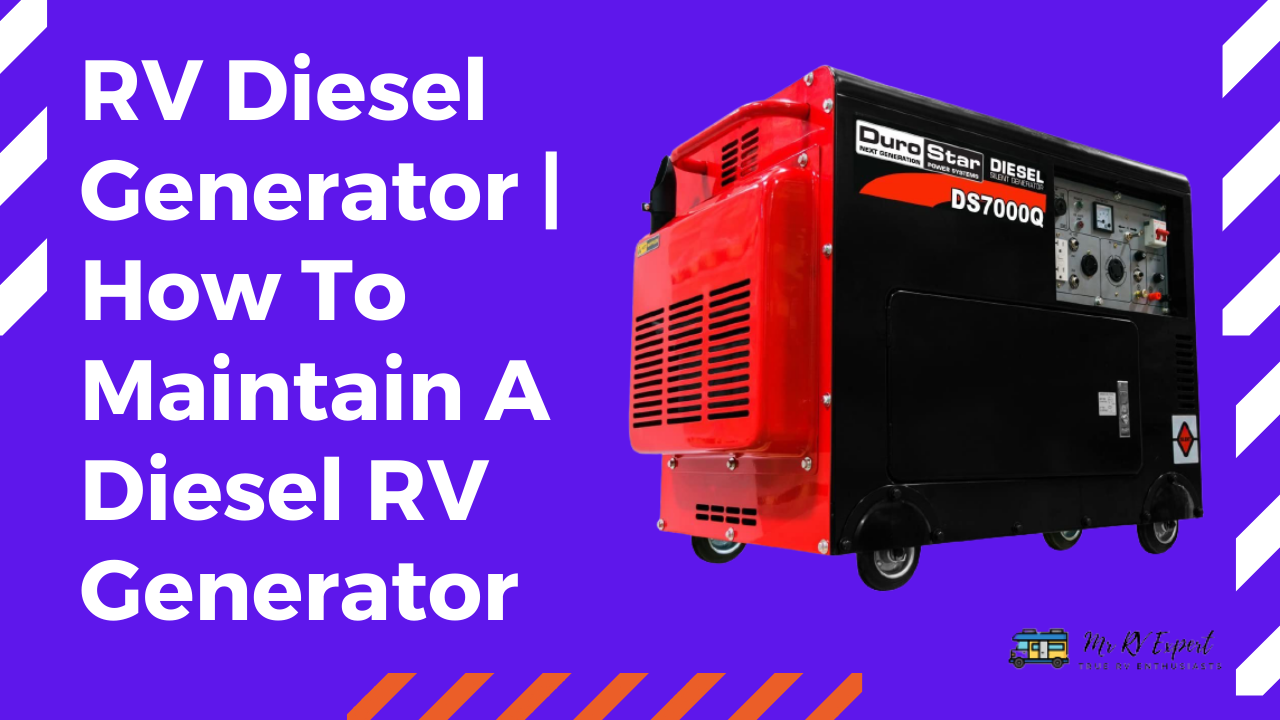
This article aims to assist you in choosing the most suitable diesel generators for your needs, providing valuable guidance for RV Diesel Generator selection and Diesel RV Generator maintenance. It will cover various generator types, fuel options, and power capacities. In the second part of the article, you will find recommendations tailored to specific requirements such as home standby or portable use. Prior to compiling your personal list of potential generators, it is crucial to invest some time in thoroughly reading and comprehending all the information presented here.
Table of Contents
Different Generator Types
When it comes to selecting an RV Diesel Generator, there are numerous options to consider. The initial decision to make is whether you prefer an inverter generator or a conventional generator. However, it’s important to evaluate which voltage output is most suitable for your specific requirements before making a final choice. This section offers insights into both types of generators and the voltage they produce.
Inverter Generators
Inverter generators are gaining popularity due to their distinct advantages and disadvantages. These generators provide a clean and stable power output, making them ideal for powering sensitive electronic devices like televisions, stereos, and computers. Unlike traditional generators, inverters convert DC power from sources like car batteries into AC power, resulting in significantly lower noise levels.
In fact, you can use an inverter generator near your home without experiencing much noise disturbance. However, it’s worth noting that one drawback of using these generators is their limited continuous runtime before overheating. Most units require a cooling-off period of approximately 30 minutes to prevent internal components from degrading.
Conventional Generators
Conventional generators offer increased dependability as well as increased power output. Inverter generators generally produce somewhere between 2000 and 3500 watts, which some homeowners may not need. Conventional generators will have more wattage available from the engines that drive them, increasing their capability to run for extended periods of time without overheating or requiring a cool-down period.
Traditional generator sets also tend to be extremely loud, so it is important to ensure you are able to properly shield your ears when using this type of RV Diesel Generator. Also, due to the noise level produced by conventional generators, it is advised they are used outside of homes or near neighbors.
Power-Outlet Options
When purchasing a generator, it is crucial to consider the number of outlets you will need. Older homes may require more power due to outdated electrical systems, so it’s important to keep this in mind during your search for the right generator. Additionally, if you own sensitive electronics like televisions and computers, ensure that your chosen generator has enough outlets to simultaneously power all these devices. However, using an inverter generator may not necessarily resolve any issues in this particular scenario.
How To Start A Diesel RV Generator?
Step 1: Read the owner’s manual.
You’ll need to refer to your owner’s manual for information on maintaining your generator, changing the oil, and which replacement parts you will need. Your owner’s manual may also contain instructions on safety measures you should take in operating your generator.
More importantly, it will give important information about how big of a power inverter you would need if you want to connect this unit to your RV house battery bank when you’re dry camping (boondocking). If after reading the owner’s manual you still don’t understand what some of the instructions are asking here is an explanation of how to read an RV electrical schematic diagram. That might help visualize things for you when referring back to your own unit.
Step 2: Inspect the generator.
To ensure optimal performance and longevity of your RV generator, it is essential to conduct regular maintenance checks. Although genuine RV generators are designed to endure challenging conditions, they can still experience wear and tear. Before starting the generator for the first time, confirm that the oil level is correct. Prioritize your safety by wearing protective eyewear, then carefully examine all electrical connections, including the wiring harness that connects the generator to your RV. Pay close attention to any potential damage such as chips or dents in steel surfaces that may harm seals or other components during operation.
Inspect the cables thoroughly to detect any signs of fraying or mishandling, especially if your friends borrowed your unit last winter, causing concerns about their camping habits. Additionally, visually assess the hoses, belts, and look for worn areas where hidden cracks might be present. Apply the same inspection process to the rubber components on wheels and tires to ensure they are not on the verge of blowing out. By following these steps and optimizing your maintenance routine, you can enhance the performance and durability of your RV generator.
Step 3: Check fluids and filters.
Ensure that all fluids, including oil, coolant, and fuel, are at their correct levels. Generators usually operate on gasoline, so make sure there is an ample supply. If your generator has been unused for an extended period (more than 4 months), it is advisable to check the battery to ensure it hasn’t died due to inactivity. If you are unsure how to check the specific gravity of a lead-acid battery, you can conveniently take it to any auto parts store, where they will usually test it for you free of charge or at a minimal cost. Keep in mind that RV generators typically require an oil change every 100 hours of operation, so prepare yourself to change the oil and filter once you have it up and running.
Step 4: Prepare to start the generator.
Ensure that all safety guards are securely in place and verify that the unit is positioned level on its axles or supported by small cinder blocks at each corner to prevent any strain on the electrical connections during startup. Before proceeding, ensure that all devices and appliances are switched off, with the exception of the master power switch located at your RV’s power panel. To provide adequate ventilation, open all doors and windows within your RV. Connect a heavy-duty 3-prong extension cord (with a minimum wire gauge of 12) to an outlet in your home, avoiding any placement that may expose the cord to potential damage from moving components in the generator compartment. Next, plug your generator into the extension cord and ensure that it is switched to the “on” position. Rest assured, we will promptly turn it off once the startup process is complete.
Step 5: Turn on all breakers at your RV power panel.
This feature enables you to effortlessly activate any desired circuits powered by the generator, eliminating the need for manual toggling. If you only intend to supply power to a single outlet, such as a TV, there’s no requirement to engage all the breakers. You can simply flip the switch associated with that particular circuit. We’ll delve deeper into operating specific appliances with your generator in the subsequent discussion.
Step 6: Startup the generator engine.
To initiate the startup process of your RV generator, please return inside the vehicle and proceed to activate the “master” switch on the breaker panel. Ensure that the switch is in the “on” position. This action should immediately initiate the generator without any delay. If there is a choke lever or button located on the generator, kindly press it inward to facilitate a quicker startup. Upon successful activation of the generator, you will observe a transition in the color of an internal indicator light from amber to blue. This change signifies that the generator is now producing power and transmitting it to your outlets through the extension cord.
Step 7: Use appliances EXACTLY as you would when plugged into your 30A RV service shore power box (except for microwaves).
Use this opportunity to test all your planned electricity applications while the generator is running. Initially, it may be noisy, but don’t worry too much because once you turn everything off and store it, the noise won’t bother you until you start it again (and if you live in a city, you might even enjoy the white noise). If your generator runs on gas, make sure it operates for at least 15 minutes before shutting it off or running out of fuel.
If your generator has an hour meter, it’s important to check the number of hours it has been running so you can determine when to change the oil and filters. It’s recommended to change the oil after 100 hours of use since it can deteriorate over time. Although most small engines don’t have a specific “oil change” indicator light, these meters allow you to monitor any unusual sounds or odors during operation, which can help identify potential problems later on.
Step 8: Shut everything down.
Once you have thoroughly tested all the components and ensured that your generator is functioning properly, return to the “master” breaker for your RV in the power panel and switch it off. Alternatively, you can turn off the main generator switch. Carefully unplug the extension cord from both ends and specifically unplug it from the generator end to prevent any residual current from flowing through the cord when not in use. Store the cord inside your RV near an outlet to ensure you remember its location for future use.
Step 9: Clean up – put away all tools & materials used.
To ensure safe access to your generator’s essential components such as the oil drain and gas cap, it is crucial to remove any obstructions that may be blocking them. Take a moment to survey the surrounding area and confirm that there are no plugged-in devices, cords that might pose a risk of damage, or any potential problem areas like hot surfaces. Once you have addressed these considerations, you can proceed with your maintenance tasks.
Step 10: Secure your generator in the open position for WARNING: DO NOT OPERATE WITH THE GENERATOR LID CLOSED!
Leaving your generator open like this will harm the life support systems inside it, which are responsible for enhancing its efficiency and prolonging its overall lifespan. Insufficient airflow through the generator can cause overheating, resulting in various issues ranging from melted wiring harnesses to damaged pistons. However, you need not worry because the generator is specifically designed to operate in this manner, and no adverse consequences will occur.
Step 11: Store your generator for the off-season.
Now that everything has been cleaned up and put away, you have the option to store your generator indoors, if its design allows for it, or you can hang it on a wall in the garage, provided you have enough space. If you happen to have an old tarp lying around, retrieve it and gather some bungee cords to create a tarp cover. This cover will protect the generator from water damage in case it is exposed to rain during storage. Additionally, it might be a good idea to purchase a few extra oil filters and spark plugs, so you have them readily available when needed. Often, there are one or two extra items left over from the initial process, so having these spares can come in handy. Congratulations, you are now finished!
Conclusion
“By following these simple steps, you can enhance your on-the-go power experience and ensure a hassle-free time. Just follow these 10 easy steps whenever you use your generator, and it’s guaranteed to serve you well for many years. Thank you for reading this article! Please click one of the top links in this article to access a tutorial on properly maintaining a diesel RV generator, in case you need extra assistance during step 3 (adding oil) or step 5 (removing old oil from the generator). Stay safe, have fun, and enjoy your camping adventures!
[kkstarratings]