It’s time to dewinterize your RV, but what does that mean? In short, it’s preparing your RV to sit idle throughout the winter months. Winter may be coming to an end, but that doesn’t mean you can’t start planning your next RV trip! Before you hit the road, though, it’s important to dewinterize your rig, or at least prepare it so you can get on the road as soon as possible come spring. With these tips on how to dewinterize your RV, you’ll be able to start enjoying your RV again in no time! Fortunately, there are only a few essential steps you need to take to ensure your camper will be ready to hit the road come springtime! Today we’ll go over those steps and point out some useful tips so you can dewinterize your RV confidently!
Table of Contents
When Should I Dewinterize my RV?
Ready or not, winter is coming. And that means it’s time to dewinterize your RV. But when exactly should you do this, and how will it help your RV? To answer these questions, here are a few things you should know about dewinterizing:
- Different parts of the country require different procedures
- Removing fuel from an uncovered tank can freeze in sub-zero temperatures
- Plan on replacing or draining all fluids in the engine before storing for winter
Step 1: Empty the black water tank
RV black water tanks require a different process from home black water tanks. This first step is mandatory when it comes to winterizing an RV, and it will make RV springtime travel much more pleasant. Basically, you need to flush the tank with fresh water by opening the septic pump and allowing it to flush clean. If there is any problem with the system, that’s likely where the issue lies.
Step 2: Empty grey tank
Your grey tank should be emptied before you put the camper in storage for the winter. If you want, set up a system with a hose that allows you to drain the tank outside your RV. This is also a good time to clean out any clogs so that it is easier and faster when you need to use it again come to Spring.
Step 3: Flush the fresh water system
Before you travel or even just turn on the freshwater supply, it’s important to drain and flush all the pipes and tanks. Inspect hoses for cracks or damage, and make sure they’re not pinched or clogged. One way of doing this is by turning on the sink faucet and running it until you see no rust stains in the basin. Then inspect all water tanks, including toilets and black-water tanks, opening taps around them until they are empty.
Step 4: Change Air Filters
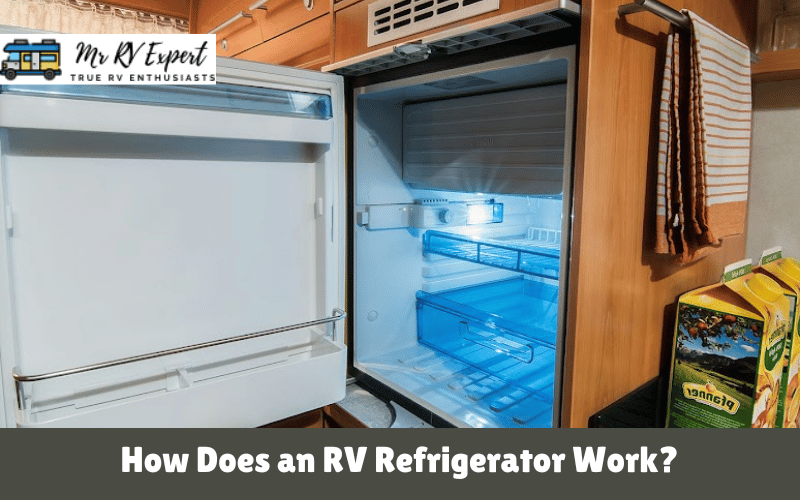
Changing the air filters is one of the easier RV winterizing tasks. It may not seem like a big deal, but they are important as they help control contaminants such as dust and pollen from entering the system. And that saves you from potential allergy symptoms later on down the road. On top of that, it’s a good idea to change or clean out the refrigerator coils before storage for better efficiency in cooling during your travels next year.
Step 5: Check tires/air pressure
Before getting on the road with a spring break, winterizing your RV is a smart idea and can be as simple as checking tires and air pressure levels. If you store your RV for more than six months, have its fluids checked or serviced by an expert.
Step 6: Check propane levels
Start by checking the propane level in your RV’s propane tank(s). If it’s below 20%, fill up the propane tank before starting anything else. The larger the RV, the more gas tanks you’ll need. Next, ensure there are no leaks in the system, including all connections to water systems. Check plumbing connections and faucets throughout the camper for leaks.
Step 7: Clean exterior
To RV spring maintenance a camper, start by checking all the tires and ensuring they are in good shape. Next, wash the outside of the RV with a gentle cleaning agent. Once it’s clean, use a degreaser to clean up any dirty spots on the body before washing again. Last but not least, make sure all exterior lights work before heading inside for final prep work.
Step 8: Clean interior/gadgets
A thorough cleaning of the inside and outside of the RV before Spring starts is essential to RV spring maintenance. Doing this will make you feel better about your camper, but it also helps protect against rusting by removing salt and other damaging materials.
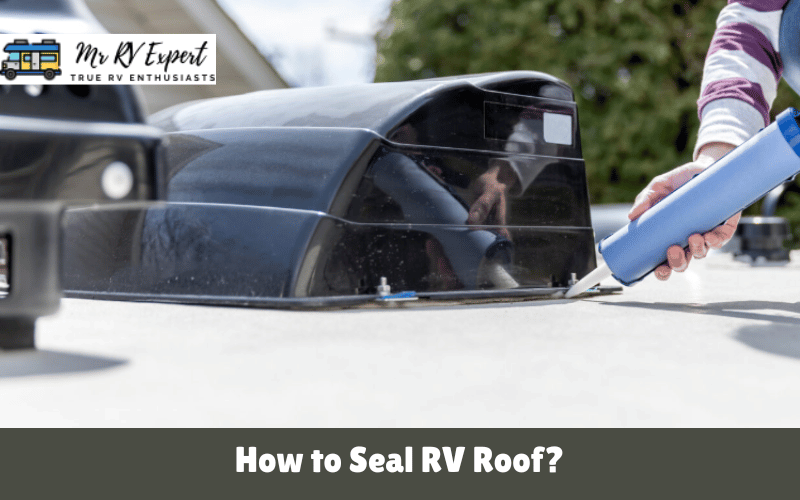
Step 9: Clean roof vents & screens
- Before starting the process, look for any debris on the roof surface that might block airflow and cause further damage if it falls into the ventilation shafts.
- 2. Clean roof vents with a brush-type or vacuum cleaner attachment. You may need to clean the screens at this time too.
- Apply a coat of RV roof sealant around each vent opening and reapply as needed until sealant no longer becomes tacky when applied (usually 3-4 coats).
- Make sure you have fresh RV antifreeze in your tanks before turning them back on after storing them over winter.
- Use RV antifreeze during winter to prevent water freezing in the lines and tanks, leading to problems such as black water disposal issues.
- Store unused RV antifreeze in its original container out of sunlight, where it will not freeze during cold winter (exterior basement storage is recommended).
- The last step is removing any snow and ice from RV tires and wheels, so they are ready for action!
- Dewinterizing an RV takes some time, but this 9-step checklist should help make things easier.
- Get excited about hitting the road again because Spring has arrived!
Conclusion:
To prepare your ride, you’ve inspected it from top to bottom and sealed up any leaks you find. The battery is charged, the tires are inflated, the water system is refreshed, and the propane tank is full. We have charged the battery, inflated the tires, refilled the water system, and filled the propane tank.
Make sure your RV is properly winterized when the weather turns cold. Our guide on How to Winterize Your RV will help you when that time comes.